
Showing posts with label Flowers. Show all posts
Showing posts with label Flowers. Show all posts
Tuesday, July 19, 2011
T-Shirt Re-Fashion
This is a terrible picture for showing detail of what I even changed. I found all kinds of T-shirts at a store down the road from me for $1 each! So I bought a couple of a few of them. And when I came across this tutorial, I whipped one up during drive time on the way to Dayton last weekend. It turned out well, but I think I'll still add a few more flowers.

Monday, July 18, 2011
Vintage Rose Wrap Belt
I was too lazy to make Bexley a rockin' 4th of July dress this year, so I used Kiki's idea for the rose wrap belt and added it to a denim dress. So easy and SO cute!!!


Wednesday, May 18, 2011
Redecorating Part III
Since I got rid of the vase of flowers on our dresser, I needed something to replace them. Have you seen all the great dollar store supply ideas on craft blogs lately?! They are fantastic! I already had the large cylinder vase, then bought two smaller ones and candle sticks at the dollar store, added some rocks and flowers I had on hand and here it is.
 I think I'll change out the rocks and flowers once we move, but for now I was just using what I had.
 I think I'll change out the rocks and flowers once we move, but for now I was just using what I had.
Friday, May 13, 2011
Redecorating Part II
Turning these...
 Into this...
I am loving all the white in decor these days and happened to have a glass vase, did you know you can spray paint practically anything?!

 Into this...
I am loving all the white in decor these days and happened to have a glass vase, did you know you can spray paint practically anything?!

Monday, May 9, 2011
The Re-Decorating Itch: Part I
I don't know if it's more of an itch to move or just to re-decorate, but Landon said no more new decorations until we move, so now I'm itching for both! This was the best before picture, since I forgot to take one before I started the project. I had to bring the wreath hanger into the house because I put potted flowers on the front porch for the summer. So then I needed a new wreath to hang from it. So I took the yellow flowers in the vase on the dresser in this picture:
 And turned them into this:
 And here is where they now sit:
 I just plucked them off and hot glued them to a straw wreath. Total project cost: $1.50 (the cost of the wreath). Next up, what to do with the other potted flower arrangement from the entertainment center.
 And turned them into this:
 And here is where they now sit:
 I just plucked them off and hot glued them to a straw wreath. Total project cost: $1.50 (the cost of the wreath). Next up, what to do with the other potted flower arrangement from the entertainment center.
Friday, May 6, 2011
Sewing Machine Cover
Somehow in our last move I lost my huge plastic sewing machine cover, grrr. I'm sure it will turn up in the next few months now! My machine sits on my craft desk in our bedroom because I use it too much to have to get it out and put it away each time. So to make it a little prettier in our bedroom I made a quick cover. The closest tutorial I could find was here.
 Obviously I didn't use a heavy-weight fabric because you can see right through it, but I'm trying to use up my fabric stash so I can replenish with cute new fabric! So fast, so easy, so cute!

 Obviously I didn't use a heavy-weight fabric because you can see right through it, but I'm trying to use up my fabric stash so I can replenish with cute new fabric! So fast, so easy, so cute!
Tuesday, May 3, 2011
Stake Project
This is a project I've been working on for the last 2-3 months. The theme of our stake relief society women's conference was "Be Your Own Kind of Beautiful". I had a committee of 5 in the end and we decided on a mirror decor theme, but wanted a few "different" types of centerpieces.
Now, remember, we were using church money and trying to spend as little as possible by borrowing or re-using goods from friends or previous activities. For starters, the table cloth linings were found in the stake relief society closet, not the prettiest, but good enough for this event.
We managed to scrounge up 6 candlesticks for these mirror topiaries I has envisioned. After putting one together with rhinestones one night, Landon laughed and said it wasn't going to work, not that I asked for his opinion. So I resorted to these paper flower topiaries since I was already making some for Kiki's All About Easter Event, then threw it on a mirror base to make it work for our theme.
 We also rounded up 24+ frames that I cut mirrors for then hung wreaths from(made by one of the committee members).
 Not sure why I took a picture of the crooked candle vase, but here it is, I used a shiny silver material to rest the candle in and rhinestones around the candle (hot glued to ribbon, then to the candle) for a reflective accent.
 And last we found 6 square glass vases, wrapped some reflective cellophane around (for the mirror look) and threw in some flowers.
 In addition to the centerpieces we had a couple of LARGE mirrors in the chapel and foyer also with large hanging wreaths and made 225 mirrors with a scripture theme written on top as a handout for each of the sisters that attended. I was beyond nervous for how it was all going to come together (real flowers, fake flowers, paper flowers, cellophane, ya know?!). But it was okay in the end, I was more concerned with trying not to spend too much!
Saturday, April 9, 2011
Four Ways to Easterize Your Candlesticks
I've been featured on Kiki Creates!
Which is hilarious to me because I don't condsider this a real craft blog, it's just a collection of things I've made and where I found the ideas. So here are a few Easter ideas I've found and re-created.
This is what our "mantle" looks like most of the time...with plain, boring candles.
 Now with a few Easter twists...
 #1 - Candlestick Nests
I had this little combo sitting in an apothecary vase on the kitchen table and thought, "why not on a candlestick?" So here it is...just some thick moss from Joann's and some speckled eggs from Hobby Lobby. 
The next three projects are all relatively similar to each other. I found my egg shaped styrofoam at Hobby Lobby. First you'll want to shave off a little of the egg from the bottom, so it can easily sit on the candlestick.
#2 - Moss Eggs
These are so simple, I'm sure we've all seen these and the next project done all over the craft blogging world with the round styrofoam balls. You simply glue the moss on to the styrofoam.
 #3 - Rosette Eggs
 Simply glue or pin rosette flowers all over the styrofoam egg. Kiki gave the best rosette tutorial I've seen just a couple of weeks ago. Check it out here.
 #4 - Paper Flower Eggs
This idea spurred from Martha Stewart's Hyacinth Topiary idea. I didn't have the fake flowers lying around, but I do have an abundance of paper, so I cut out a few flowers, stacked two at a time and pinned them on.
 Ta-da! These ones were my favorite and made the final cut to sit on the mantle for the season!
Tuesday, December 14, 2010
Bexley's Birthday Party
First, the star of the night in a t-shirt I ordered from etsy and a re-vamped tutu.
 The birthday banner.
 Cupcakes and toppers using this adorable paper flower tutorial.
 The whole table of goodies.
 Most of which came from one of my greatest goodwill days yet, all for under $20. We never have fun dishes to entertain with, so when I found most of these mostly for no more than $1-2, I jumped on 'em! If you live around here, this is the link to the monthly calendar so you get the best price for all your thrifty crafting!
  Last minute project for drinks, since I forgot to plan anything else for people to drink.

 And some fun tissue paper pom-poms I might have to re-use for her 1-year-old pictures if she ever starts feeling better.

 The birthday banner.
 Cupcakes and toppers using this adorable paper flower tutorial.
 The whole table of goodies.
 Most of which came from one of my greatest goodwill days yet, all for under $20. We never have fun dishes to entertain with, so when I found most of these mostly for no more than $1-2, I jumped on 'em! If you live around here, this is the link to the monthly calendar so you get the best price for all your thrifty crafting!
 My version of the easiest cake stands shown
  Last minute project for drinks, since I forgot to plan anything else for people to drink.
 And some fun tissue paper pom-poms I might have to re-use for her 1-year-old pictures if she ever starts feeling better.
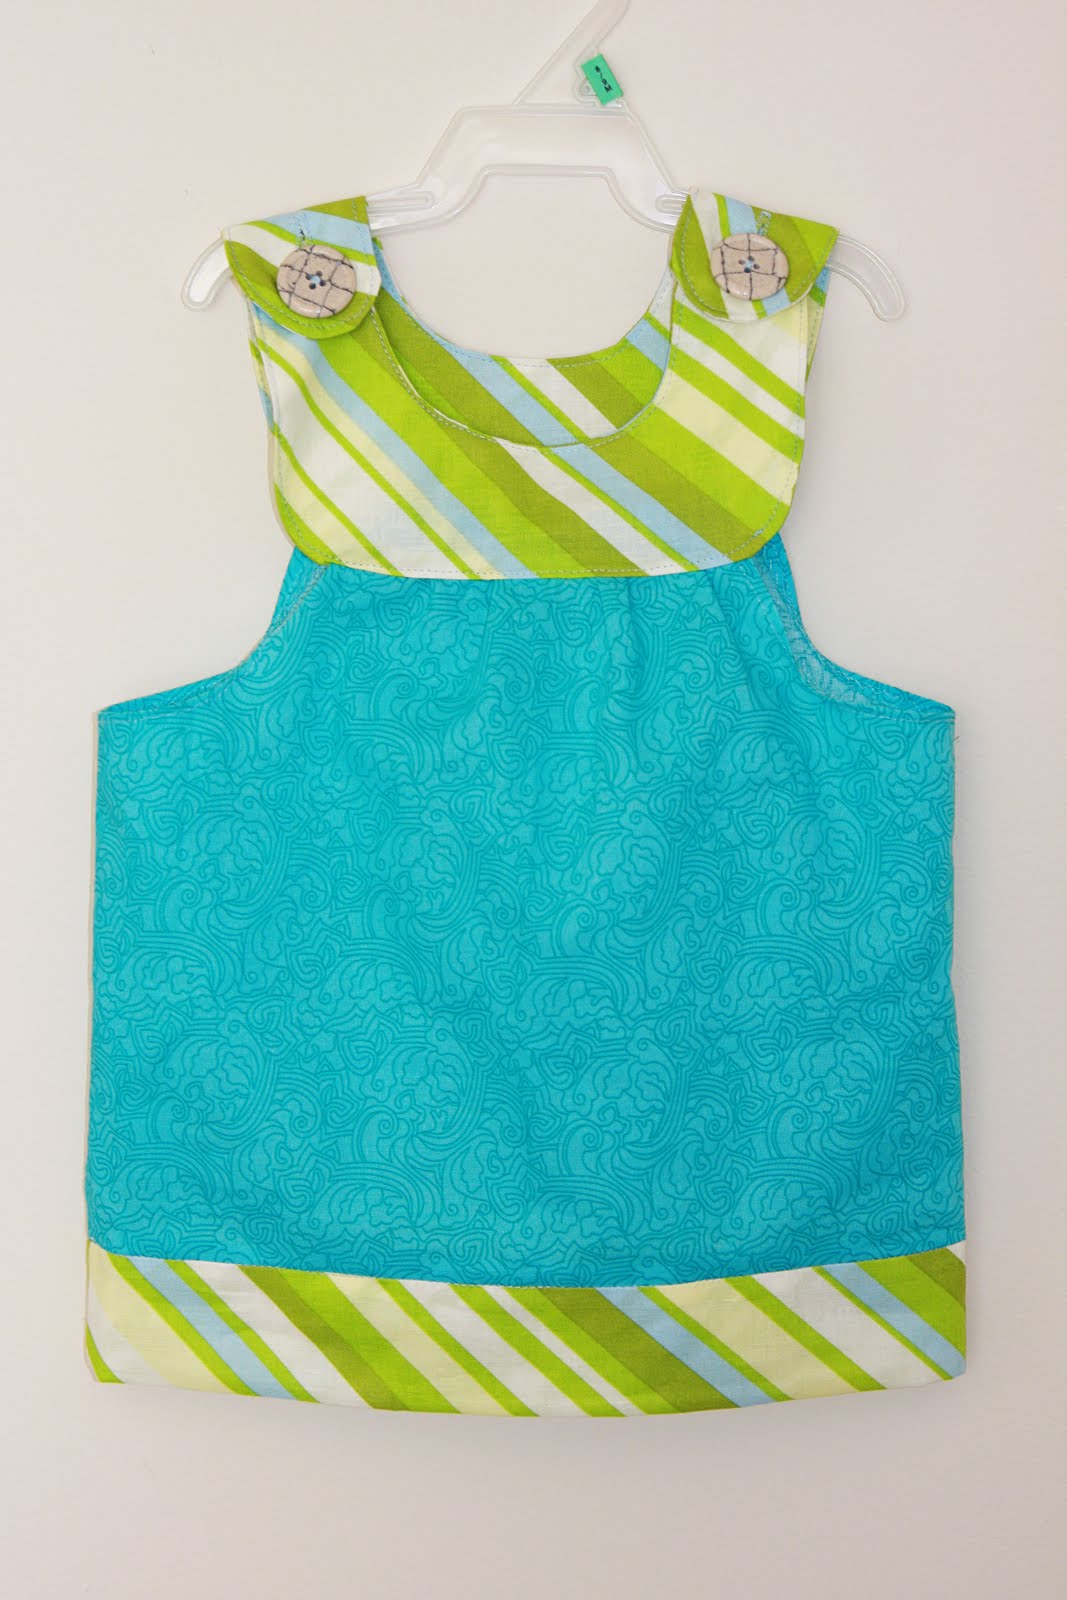
Thursday, September 30, 2010
Little Girls Tunic
I've been dying to make one of these little tunics for months now and finally got around to it before I head to a baby shower tonight. I made the arm holes a little too wide so it's a little big for Bexley, but hopefully it will fit this soon-to-arrive little girl next summer.
 And a few hair pieces to go along with it.

 And a few hair pieces to go along with it.
Friday, September 17, 2010
Flowers
My sisters and I were a little obsessed about making new flower clips when I went home last month. We tried some rosettes.

Some satin & tulle.

And a couple of bows.

Then, I came back to Ohio and met the cutest couple at church with a little girl the same age as Bexley with the cutest little felt flower on her head. I was so excited to be bff's with this family only to find out they were only visiting from Boston for the weekend. I've been DESPERATE for crafting friends so I just decided to start my own monthly craft night and invite everyone here I've met...so we made the cute felt flowers this week and I can't wait to put them on Bexley's cute little head.

Some satin & tulle.
And a couple of bows.
Then, I came back to Ohio and met the cutest couple at church with a little girl the same age as Bexley with the cutest little felt flower on her head. I was so excited to be bff's with this family only to find out they were only visiting from Boston for the weekend. I've been DESPERATE for crafting friends so I just decided to start my own monthly craft night and invite everyone here I've met...so we made the cute felt flowers this week and I can't wait to put them on Bexley's cute little head.

Thursday, October 1, 2009
Amanda's Baby Gift
My sister-in-law got a good deal on some quarter flats this summer, so I thought I'd make my friend, Amanda, a blanket for her "fall" baby girl and a burp cloth to match.

And of course some quick, simple headbands and I've been mass producing these flowers, so easy, so fun, so cute!

And of course some quick, simple headbands and I've been mass producing these flowers, so easy, so fun, so cute!

Monday, September 7, 2009
Beanies and Flowers
I've been trying to use my time wisely with all the driving we've been doing, so I decided to learn how to make beanies! So EASY and so fast and so fun! Then I found the cutest fabric flower tutorial to add to them.


Saturday, November 15, 2008
Baby Headbands
A friend of mine taught me how to make these a couple of years ago, but this is this tutorial is the closest I've found to the way we do it.

Subscribe to:
Posts (Atom)
